
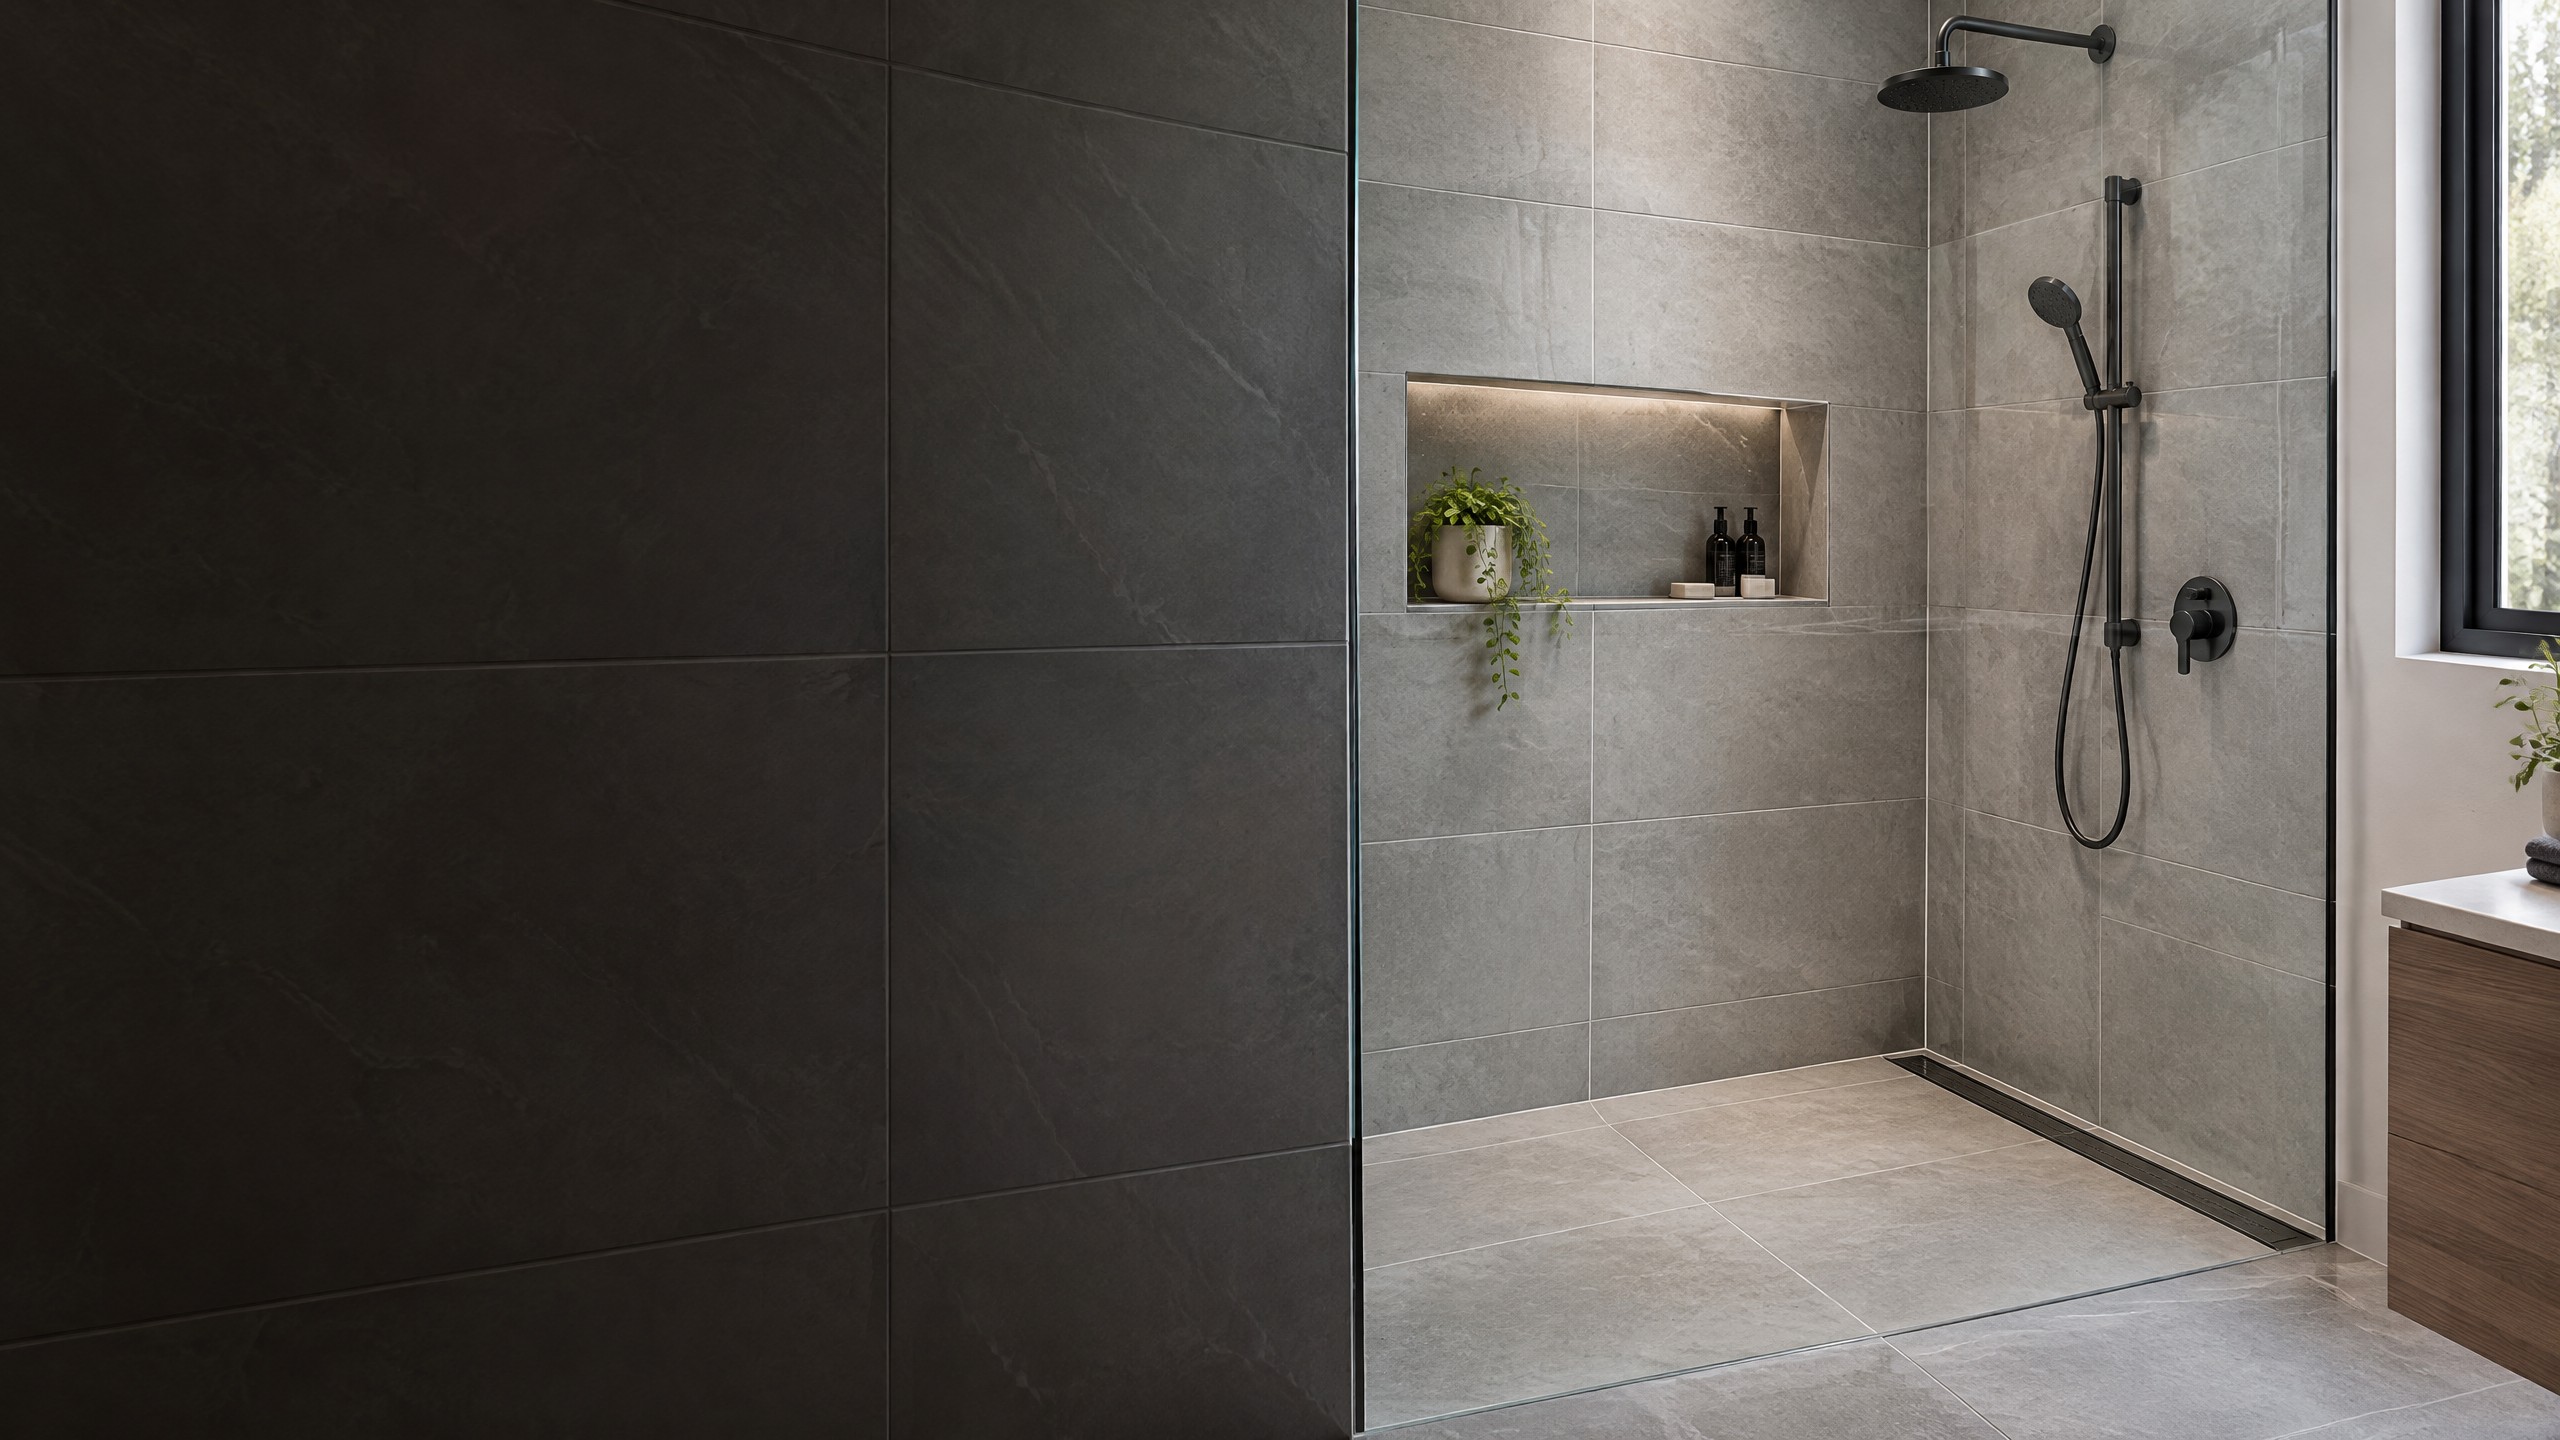
This page is for homeowners planning bathroom tile installation, a shower remodel, a backsplash or new tile through the house. The trade basics (tile sizes, grout joints, mortars) are on our main tile installation page. Here we cover what sits behind the tile in a home: the shower system, the waterproofing, niches, curbs, self-leveler and the underlayment a condo requires. Building owners and GCs should read our commercial tile contractor page instead. J. Perry & Sons is a licensed Florida general contractor (CGC1540699); we pull every permit the job needs and follow your city's inspection requirements from demo to final.
Residential Tile Installation Cost: Bathrooms, Showers and Floors
| Home project | What goes into it | Installed range |
|---|---|---|
| Guest bathroom floor, 40–60 sq ft | Remove old tile, prep, standard porcelain, grout | $14–$18 per sq ft plus demo at $4–$6 |
| Hall bath shower, 3x5, rebuilt | Demo to studs, new pan, waterproofing, wall and floor tile | $11,000–$16,000 |
| Tub alcove converted to a walk-in shower | Tub out, pan and drain, waterproofing, tile to ceiling | $12,000–$18,000 |
| Curbless shower on a slab | Slab recess, linear drain, extra membrane | $12,000–$18,000 before tile |
| Kitchen backsplash, 25–40 sq ft | Outlet extenders, layout around windows, tile and grout | $1,750–$3,000 before the tile |
| Living areas in wood-look plank, 8x48 | Leveling check, one-third offset layout | $17–$23 per sq ft |
| Open floor plan in 24x48 marble-look | Slab flattening, clips, full-coverage mortar | $25–$34 per sq ft |
Shower walls run $22–$30 per sq ft and mosaic shower floors $32–$46 per sq ft. A tiled niche during a shower rebuild is $350–$525. Self-leveler is $4.50–$7 per sq ft where the floor is out of flat, and sound underlayment adds $3–$4 per sq ft where your building requires it. Small jobs carry a $750–$1,000 minimum. Tile is supplied by you unless we quote it supplied and installed.
Shower Systems: Three Ways to Build a Waterproof Shower
Tile and grout are not waterproof. Water passes through grout and sits behind the tile, so the shower is only as good as the layer underneath. We build showers three ways and pick the system for the room, not the other way around.
Traditional mortar bed with a liner. A sloped mortar pre-slope goes down first, then a PVC or CPE liner that turns up the walls and over the curb, clamped into a two-part drain with open weep holes. A second mortar bed goes on top, and tile is set on that. Cement board on the walls laps over the liner. It is the oldest method and very forgiving on an out-of-square floor, but it is thick, slow to dry and depends on the weep holes staying clear.
Foam board and sheet membrane systems: Schluter-Kerdi and Wedi. Factory-sloped foam pans, foam wall panels or a Kerdi sheet membrane over board, with the system's own drain bonded into the membrane. Water stops at the surface directly under the tile, the pan is light and pre-sloped, and seams are banded and sealed with the manufacturer's sealant or thinset. This is the method we use most on rebuilds and the one behind most "Schluter shower pan" installations homeowners ask about.
Liquid membrane over cement board. Mapei Mapelastic AquaDefense or Laticrete Hydro Ban rolled or brushed in two coats over cement board and a sloped mortar bed, with reinforcing fabric at every corner, seam and change of plane. We check each coat with a wet-film gauge so the thickness meets the data sheet. It is fast, follows any shape and works well around benches and curved walls.
We stay inside one manufacturer's system on any shower (board, membrane, drain, mortar and sealant), or the manufacturer-approved equivalent the job specifies.
Center drain or linear drain
A center drain needs the floor sloped from four sides, so the pan has diagonal valleys and works best with small tile or mosaic. A linear drain slopes the whole floor one way, which lets 12x24 or larger tile run continuous across the floor and is the drain we use on curbless showers. Either way, the floor slopes at least 1/4" per foot toward the drain, and that slope is built in the pan or mortar bed, never made up in the thinset.
The 24-hour flood test
Before any tile goes on, we plug the drain, fill the pan with water up to the curb, mark the level and leave it for 24 hours. The level does not move, or we find out why before tile hides it. Where the city requires a pan inspection, it happens at this stage.
Waterproofing: Where It Goes in a Bathroom
- The pan: the full floor of the shower, tied into the drain flange.
- Walls: at least to the showerhead height, and we run it to the ceiling in most showers because it costs little more. In a steam shower the membrane covers every wall and the ceiling, the ceiling slopes so condensation runs to the wall, and the product has to be rated for steam.
- The curb: the top, both sides and down the outside face to the floor, so water on the curb cannot wick into the bathroom floor.
- Seams and corners: pre-formed inside and outside corners or fabric bedded in the membrane, lapped the distance the system requires.
- Penetrations: the valve, showerhead arm, hand-shower and any body sprays get a sealing collar or membrane boot. A valve hole cut oversize and caulked is the most common leak we tear out.
- Bathroom floors outside the shower: in a second-floor bathroom or a condo, we run membrane under the whole floor so a leak never reaches the unit below.
Shower Niches
Where. Not on an exterior wall. In South Florida that wall is usually concrete block, so cutting a niche means chipping CBS and losing the cavity. Not on the plumbing wall either, where the valve and supply lines run. The best spot is an interior side wall or the back wall when the plumbing sits on a side, placed where it is visible from the door but not in the spray.
Size. We size the niche to the tile, not the tile to the niche. With 12x24 wall tile a 12" tall by 24" wide niche lands exactly on the course lines, so there are no slivers around it. We lay out the wall first and frame the niche second.
Build. Prefab foam niches (Schluter-Kerdi-Board-SN, Wedi) or a framed box wrapped in the same membrane as the wall, corners preformed. The bottom sill slopes slightly toward the shower so water does not sit, and we finish edges with matching tile or a metal profile.
Curbs and Curbless Showers
Built curb. A curb on a slab-on-grade house is usually around 4" to 6" above the bathroom floor, built in foam, brick or mortar and fully waterproofed. The top slopes toward the shower, and its width is set by the glass: we confirm the glass company's door swing and fixed-panel channel before the curb is built so the door clears the curb and the panel sits on the flat.
Curbless or zero-entry. No step, easier for aging in place and the cleanest look with large tile. On a Florida slab-on-grade home we cut and recess the slab under the shower so the pan sits low enough for the finished floor to stay level from bathroom to shower, then run a linear drain at the back or the entry. Curbless adds about $3,000–$4,500 over a curbed shower for the concrete cutting, drain and extra membrane. Condos and homes with post-tensioned slabs are not cut without a scan and an engineer's direction. We do not do engineering; we build to the engineer's drawings and coordinate a licensed engineer when the work needs one. More detail is in our curbless shower on a Florida slab article.
Self-Leveler: When a Floor Needs It
Many older CBS homes have slabs that dip toward the walls or show a hump where two pours met. Standard 12x24 tile tolerates 1/4" in 10 ft. Large format tile and long planks need 1/8" in 10 ft, and a floor beyond that gets self-leveler.
- Test and prep. Remove the old tile and grind off thinset and adhesive. We test moisture on slabs that look damp.
- Prime. The manufacturer's primer, so the leveler bonds and does not lose water into the slab.
- Pour. Mapei Ultraplan or Laticrete NXT is mixed by the bag, poured and spread with a gauge rake. Most pour from about 1/8" to 1" in one lift; deeper areas get a second lift or an extended mix per the data sheet. Doorways and floor drains are dammed off.
- Cure. Walkable within hours, and tile goes on once the data sheet allows, usually the next day.
Underlayment for Condo Tile Floors
Most condo buildings require a sound control underlayment under hard flooring on every floor above the ground floor. The building sets the rating (an STC and IIC number, or a specific product list) in its renovation rules, not the tile installer. We read those rules before we price, use a bonded sound and crack-isolation mat such as Mapei Mapesonic or the Laticrete 170 mat, and submit the product data with your application.
Floor height matters at the entry door, the balcony slider and under the dishwasher. Mat, mortar and tile together can add 1/2" or more. We check that the entry door still swings, that the dishwasher slides out, and we set the threshold or transition strip during layout, not after the floor is finished.
How We Run a Shower Remodel in an Occupied Home
Most families live at home while we work. We seal the bathroom with zip walls, cover the HVAC returns and use vacuums on every saw. A typical shower rebuild runs about three weeks: demo and plumbing rough the first days, pan, waterproofing and flood test before tile, setting through the second week, grout, sealant, glass measure and fixtures in the third. If it is the only shower in the house, we tell you the day it goes out of service before demo starts. For more on costs, read shower pan replacement cost and tub-to-shower conversion cost.
Workmanship warranty on every job; materials carry the manufacturer's warranty. Terms are in your written contract.
Residential Tile Installation by City
- Residential tile in Boca Raton
- Residential tile in Fort Lauderdale
- Residential tile in West Palm Beach
- Residential tile in Palm Beach Gardens
- Residential tile in Wellington
- Residential tile in Weston
- Residential tile in Jupiter
- Residential tile in Hollywood
Related: shower tile, tile backsplash installation, tile repair and regrout. For sizes, joints and mortars, go back to tile installation; for buildings and tenant spaces, see commercial tile contractor.
Residential Tile FAQ
What does bathroom tile installation cost in a South Florida home? A rebuilt 3x5 shower runs $11,000–$16,000 and a tub-to-shower conversion $12,000–$18,000, with tile supplied by you. A bathroom floor alone is $14–$18 per sq ft plus demo.
Which shower pan is best: mortar bed, Schluter or liquid membrane? All three work when built to the manufacturer's method. We use foam systems like Schluter-Kerdi or Wedi on most rebuilds, liquid membrane for benches and odd shapes, and a mortar bed with liner where the floor is badly out of square.
Can I put a niche on any wall of my shower? Not on an exterior block wall or the plumbing wall. We place it on an interior wall, size it to the tile courses and waterproof it with the rest of the shower.
Can my bathroom have a curbless shower? On most slab-on-grade houses, yes, by recessing the slab under the shower. In condos and post-tensioned slabs it depends on a scan and the engineer, and we build up instead when cutting is not allowed.
What do I send to get a firm price on my bathroom? Call (561) 556-7509 or email jperrysonsgc@gmail.com with photos, the room size and your condo's renovation rules if you have them. After a short visit we send a written estimate with the shower system and every prep item listed.
Free estimate — call (561) 556-7509 or email jperrysonsgc@gmail.com. Licensed Florida general contractor CGC1540699. Serving Broward, Palm Beach and Miami-Dade counties.